Time for the third day of Christmas here on the blog! To see all the holiday fun in one place check out the Countdown to Christmas page here.
Today's post is by yours truly and is a fun DIY for a Christmas Countdown chalkboard perfect for a holiday mantle.
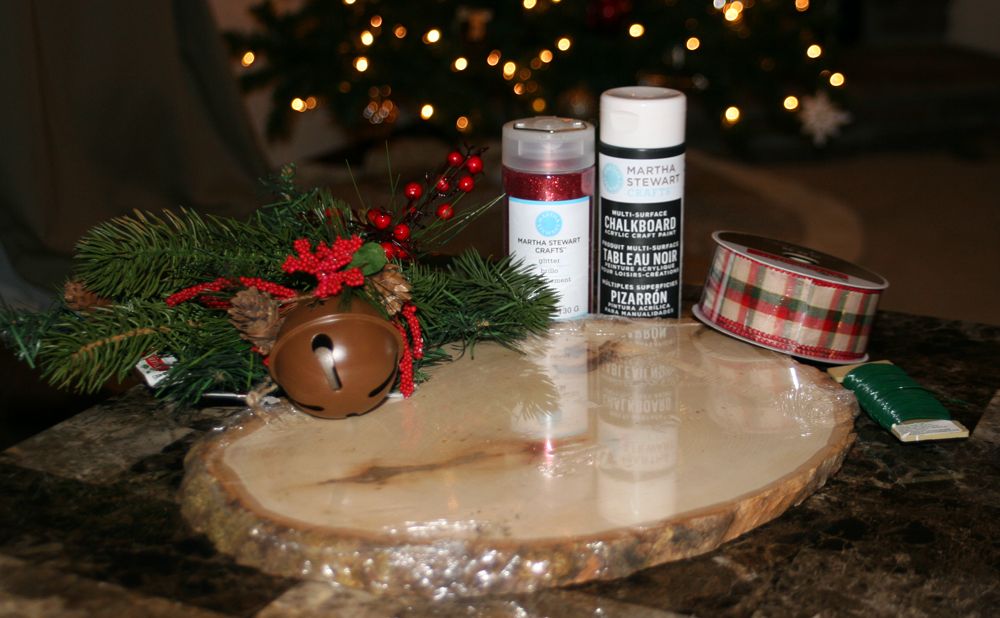
What you will need:
Wood section (or whatever you want for your base)
Greenery
Decorative accents
Chalkboard paint
Floral wire
Glitter (optional)
Ribbon
Hot glue

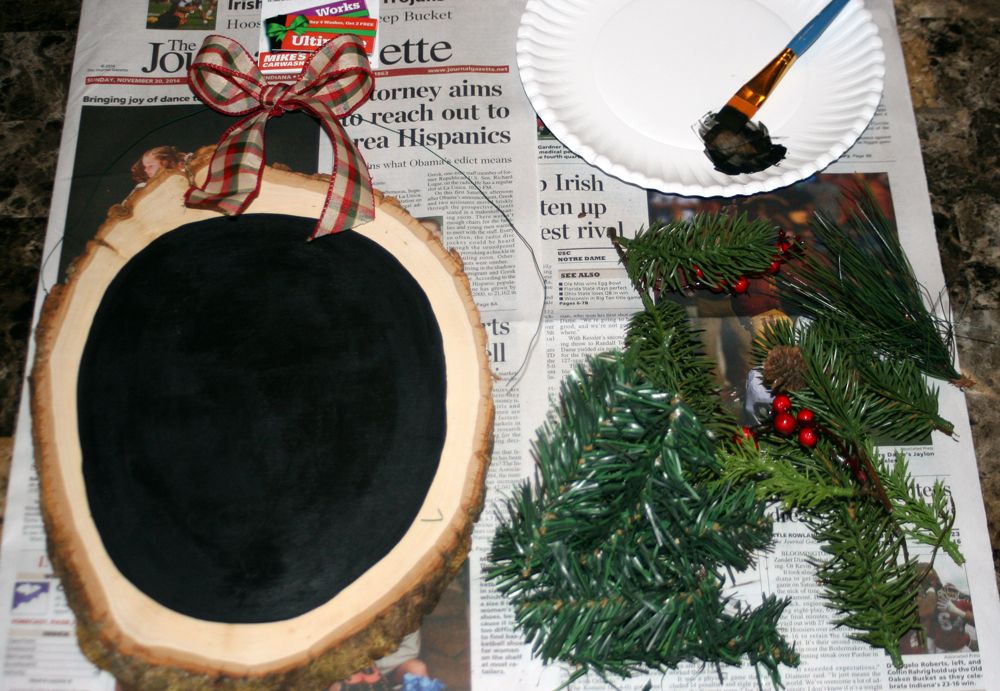
To start off, decide how big of a chalk area you want and paint that on nice and thick. I did a oval that kind of matched the shape of my wood piece.
Next I made a bow and attached it to a piece of floral wire. I also dissected my greenery pieces so they were all individual pieces.
Then, I took all my individual pieces of greenery, my bow and the ornament that I decided to add to the chalkboard and wired them all together.
Finally, I glued the bundle of greenery, ribbon and the ornament to the wood piece and started my countdown.
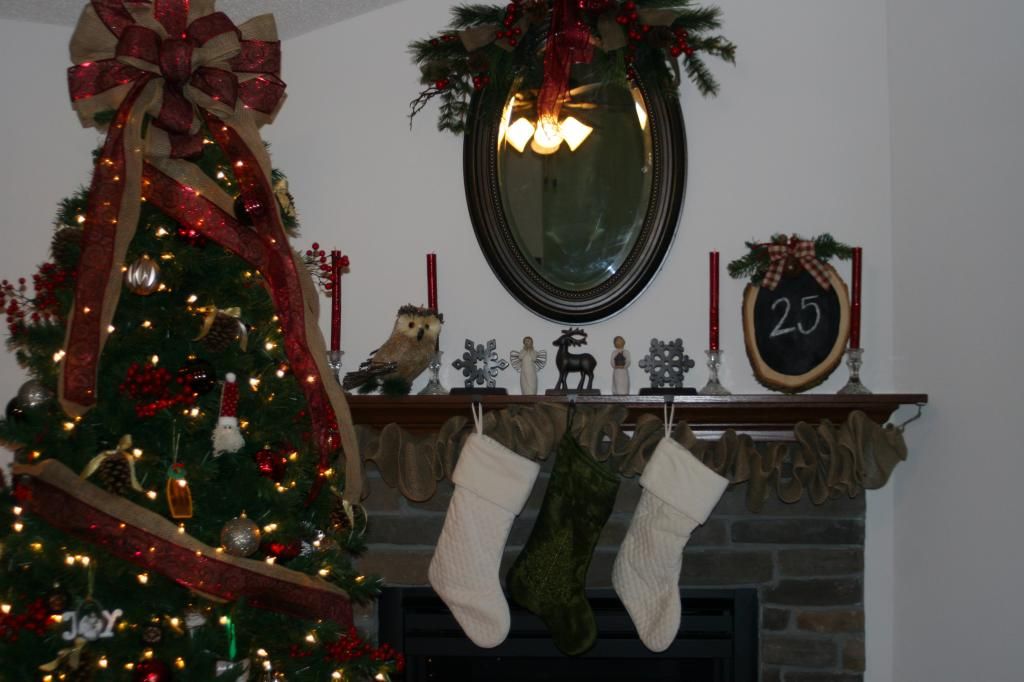
I think it turned out perfectly. Honestly, I will probably go back and add some glitter in the shape of a reindeer or something to the lower portion, because I am a glitter person. But it makes a wonderful addition to my holiday decor and blends in perfectly with the theme throughout my house.
Would you make this yourself or just buy one someone else made?
Thanks for stopping by!


No comments